AYAT AYAT HENTAM

Karangan tidak melebihi 160 patah perkataan.
Oct 20, 2010Itik Kejam!


tribute to Blog Itik Kejam

Sebuah blog yg agak menarik. Dan kadang2 klakar. Bukan kadang2 la. Hampir setiap kali ade post baru, bile bace, mst nk tergelak. HAHA.
Posted by Adi An Fadzil at 3:22 PM 3 Penjirus Komen
New Blog Header!
Posted by Adi An Fadzil at 12:54 AM 4 Penjirus Komen
Oct 19, 2010New Hybridfairy Logo
Posted by Adi An Fadzil at 12:56 AM 0 Penjirus Komen
Oct 14, 2010Thunder Skull

So here it is. My new artwork. I've been imagining it to be like this since the Network and Data Communication papers last wednesday. HAHA. I just cant stop thinking of this idea. And now i got some free time (Actually its not my free time, i just make it like it was free time. HAHA). After browsing a few images of skull in google, i start sketching using adobe photoshop. Adjust brush to fade effect so the brush effects will looks like an actual drawing. And here it is, DONE! I'm not good in explaining ok. HAHA. See you soon with a new artwork! :)
Posted by Adi An Fadzil at 6:11 PM 2 Penjirus Komen
Oct 3, 2010Liquifying Glass


Bile gelas jadi cair camnilah kot. HAHA. Nak buat benda nih senang je sebenarnye. First make your own font or you may use font you already have in photoshop. Each font has it own layer. Then duplicate each of them. Now each layer should have identical layer below it. Drag them to the left or right (Depending on which side the font is viewed and how you placed them). For the lower layer of each font, use filter-->distort-->diffuse glow for them. And then duplicate them. So now, each font should have 2 layers below it. For the 3rd layer of a certain font, use filter-->blur-->motion blur (Set to 70px). And for the 2nd layer below the font, use filter-->blur-->motion blur (Set them to 15px). Back to the 3rd Layer, use filter-->liquify. Shape them using Forward Wrap Tool and make them looks like smokes (Brush size, density, and pressure is depending on how you want to be). Do the previous step to the 2nd layer. Now move the 3rd layer to left or right( depending on 2nd layer direction). Merge them down. Next, the 1st layer. Use filter-->texture-->stained glass (Cell size, light intensity, and border thickness is depending on you). Lastly, use filter-->blur-->gausian blur on the 1st layer. NOW IT IS FINISHED! the other effects is depending on you. Use your own CREATIVITY to make it much unique and differ from other! =)

p/s: If you have any inquiry, please do ask me and i will try my best to answer it. And please do drop your comment! PEACE! =)
Posted by Adi An Fadzil at 9:01 AM 2 Penjirus Komen
Oct 1, 2010Fetch Me To Heaven

Fetch Me To Heaven by Syahira Mansor
Posted by Adi An Fadzil at 9:42 PM 0 Penjirus Komen
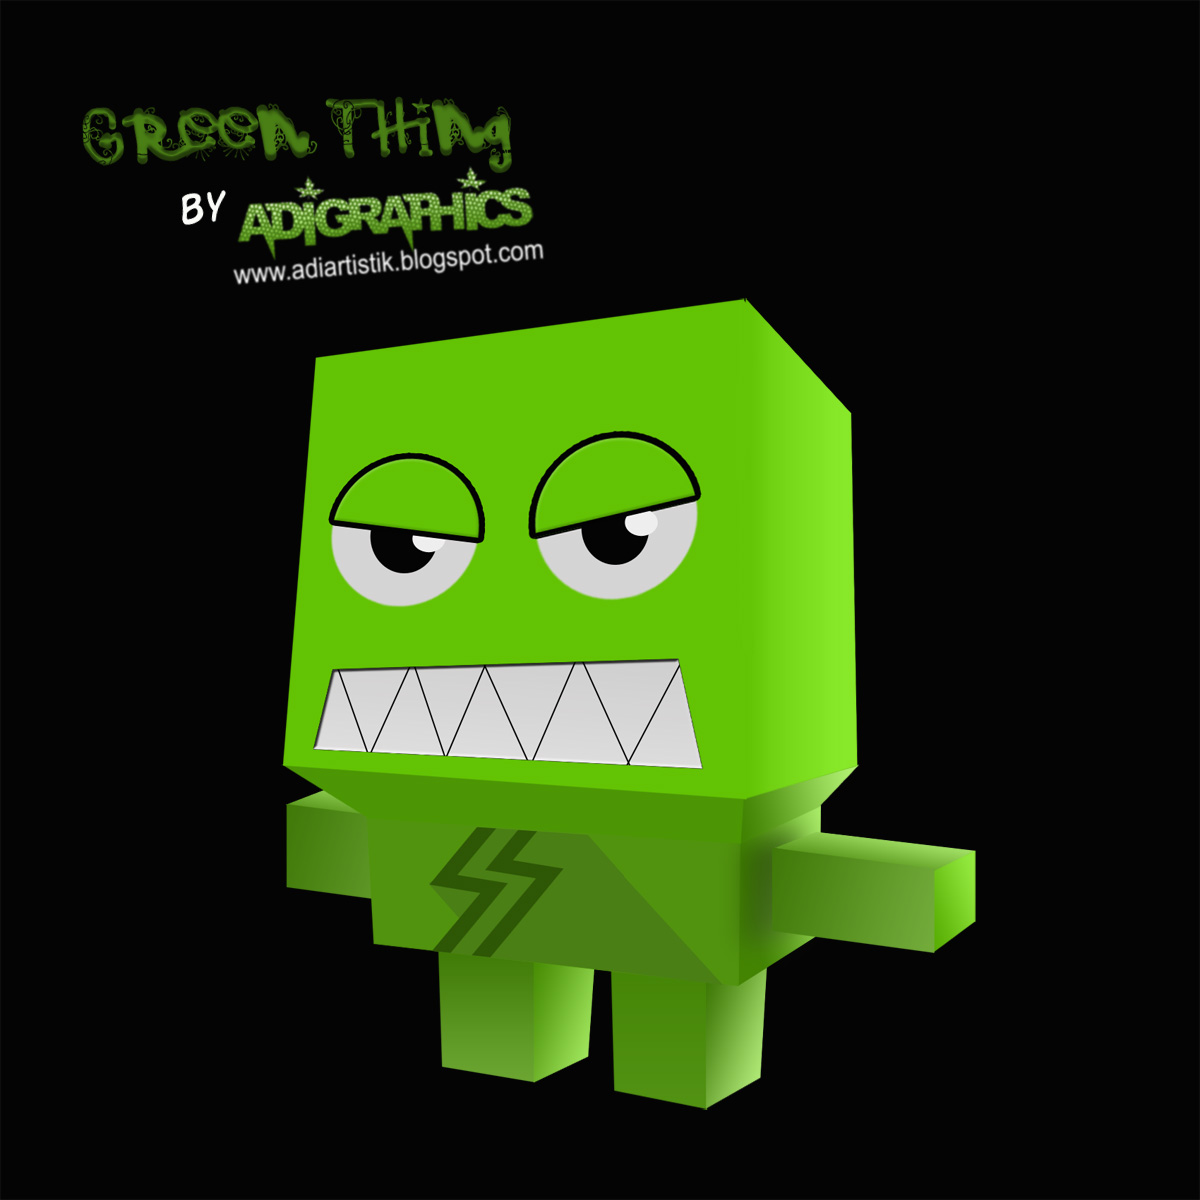
Green Thing!


Green Thing - I got the idea of creating this "Thing" from one paper toy called LEMI. Basically its shape is almost the same. I used Adobe Photoshop CS3. Using shape tool i creat a layer. Using FREE TRANSFORM and then apply DISTORT, i shape it the ways it should look (Dimensionally). Next apply LAYER STYLE - GRADIENT. Set it until its look as a real Paper Toy. Combine all part and the BOOM! Uallahhh! Finished. =)

Please drop your comment. I'd really appreciate it! =)
Posted by Adi An Fadzil at 7:21 PM 0 Penjirus Komen